

Back in January we decided it was time to replace our sofas. We browsed the various shops, which was hugely exciting for the three year old and eventually settled for a pair of three seater recliners in Grey and Silver. Whilst I was excited to be getting new sofa's, I was even more excited at the prospect of new cushions- cushions I could make myself!
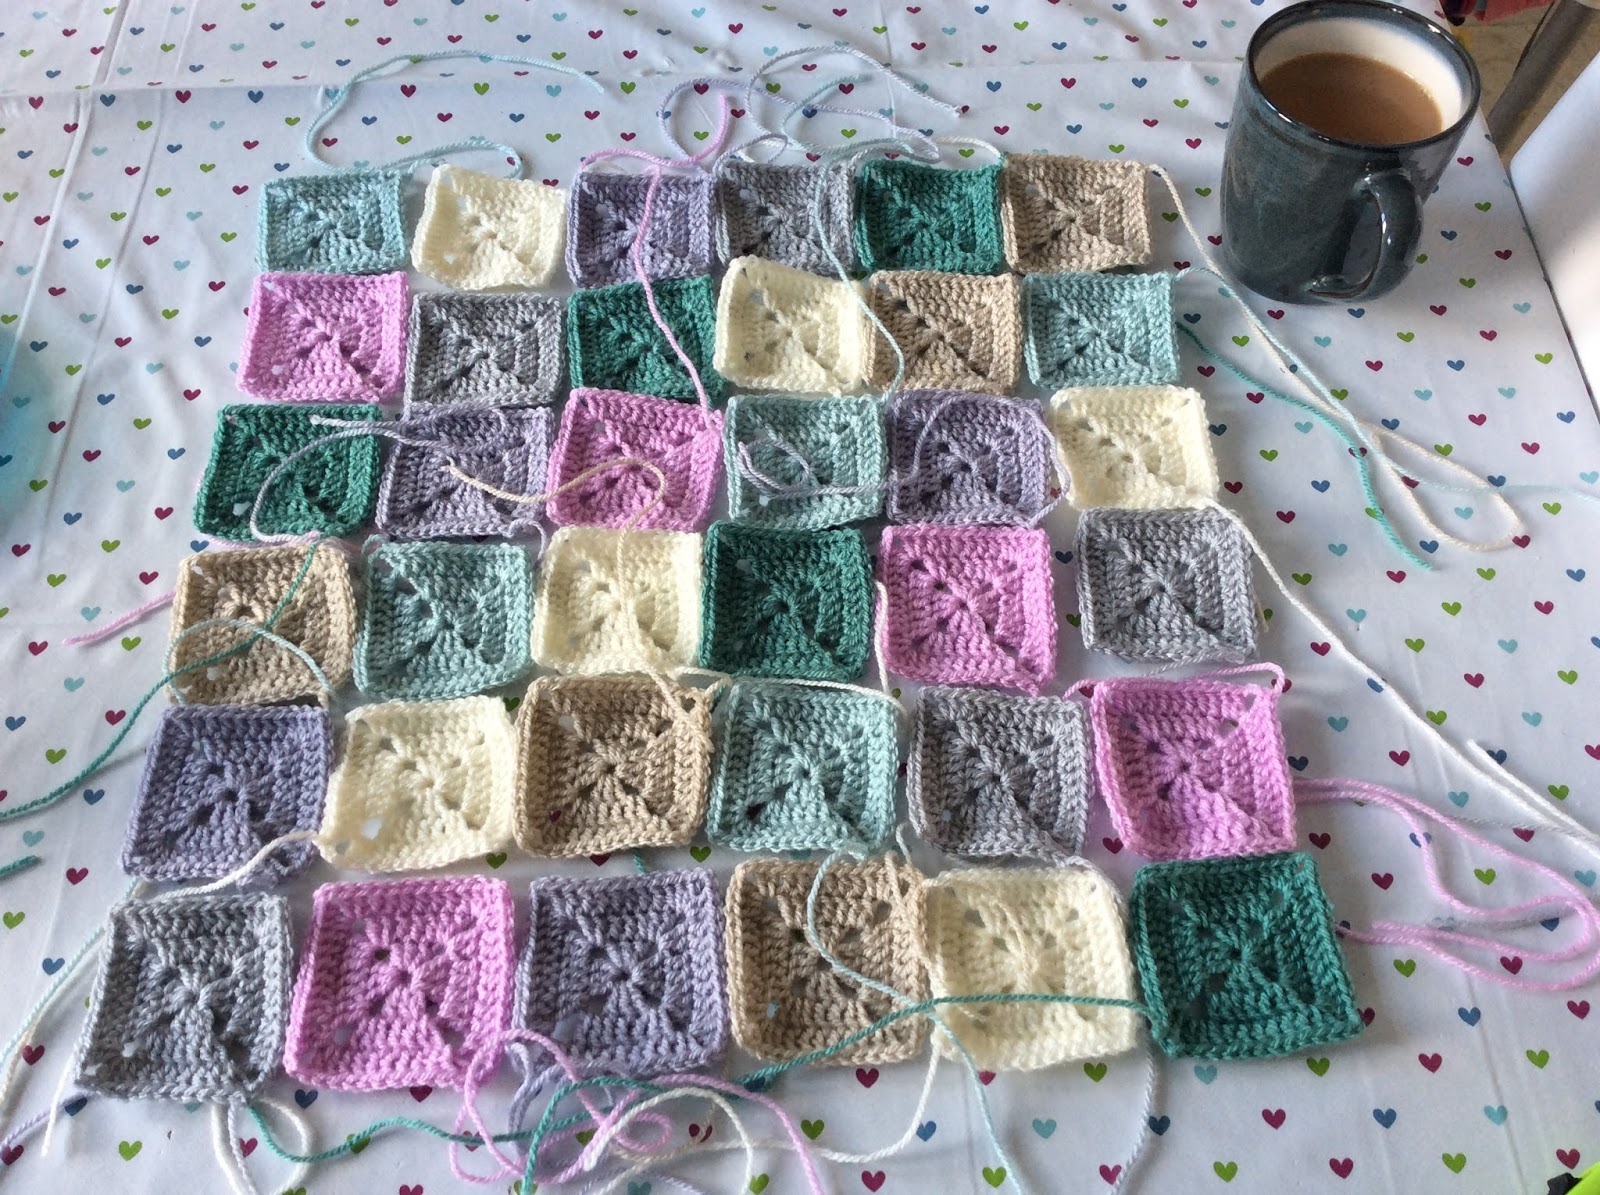
My first thoughts and one of the most exciting aspects of designing something new was choosing the colour scheme. Our living room is mostly cream with a sage green feature wall. The sofa is shades of grey. I am a member of a crochet club on Facebook and one of the very talented ladies on there was working on a beautiful blanket for her bedroom. She had chosen shades of cream, silver, lilac, duck egg and pink and they worked so well together. So I took the same colours and added a sage green to compliment and include the feature wall. As always I use Stylecraft special DK.


The next task was to chose the patterns. I decided I wanted four different designs rather than repeating the same design four times. This meant I could be far more creative and gave me more opportunity to play with design and colour!
For cushion number one I used the sunburst granny design on one side and a solid granny square the other


I used cream in the centre of each sunburst and planned the colours so there were no repeats. Once I had made sixteen squares I stitched them together.

For the back I alternated rows of cream with rows of colour until the square was big enough

To make the cushion cover, I crocheted three of the sides together from the reverse and attached buttons to the open end for a closure that will allow me to remove and wash the covers when needed. I got the buttons from amazon- they say 'handmade' on them which I thought was very cute!

For cushion number two I went for solid granny squares whip stitched together to create a patchwork effect on both sides. These little squares work up very quickly and are very simple to join together.

As before, once the two sides were complete, I crocheted them together on three sides from the reverse and added a button enclosure.


and then there were two!

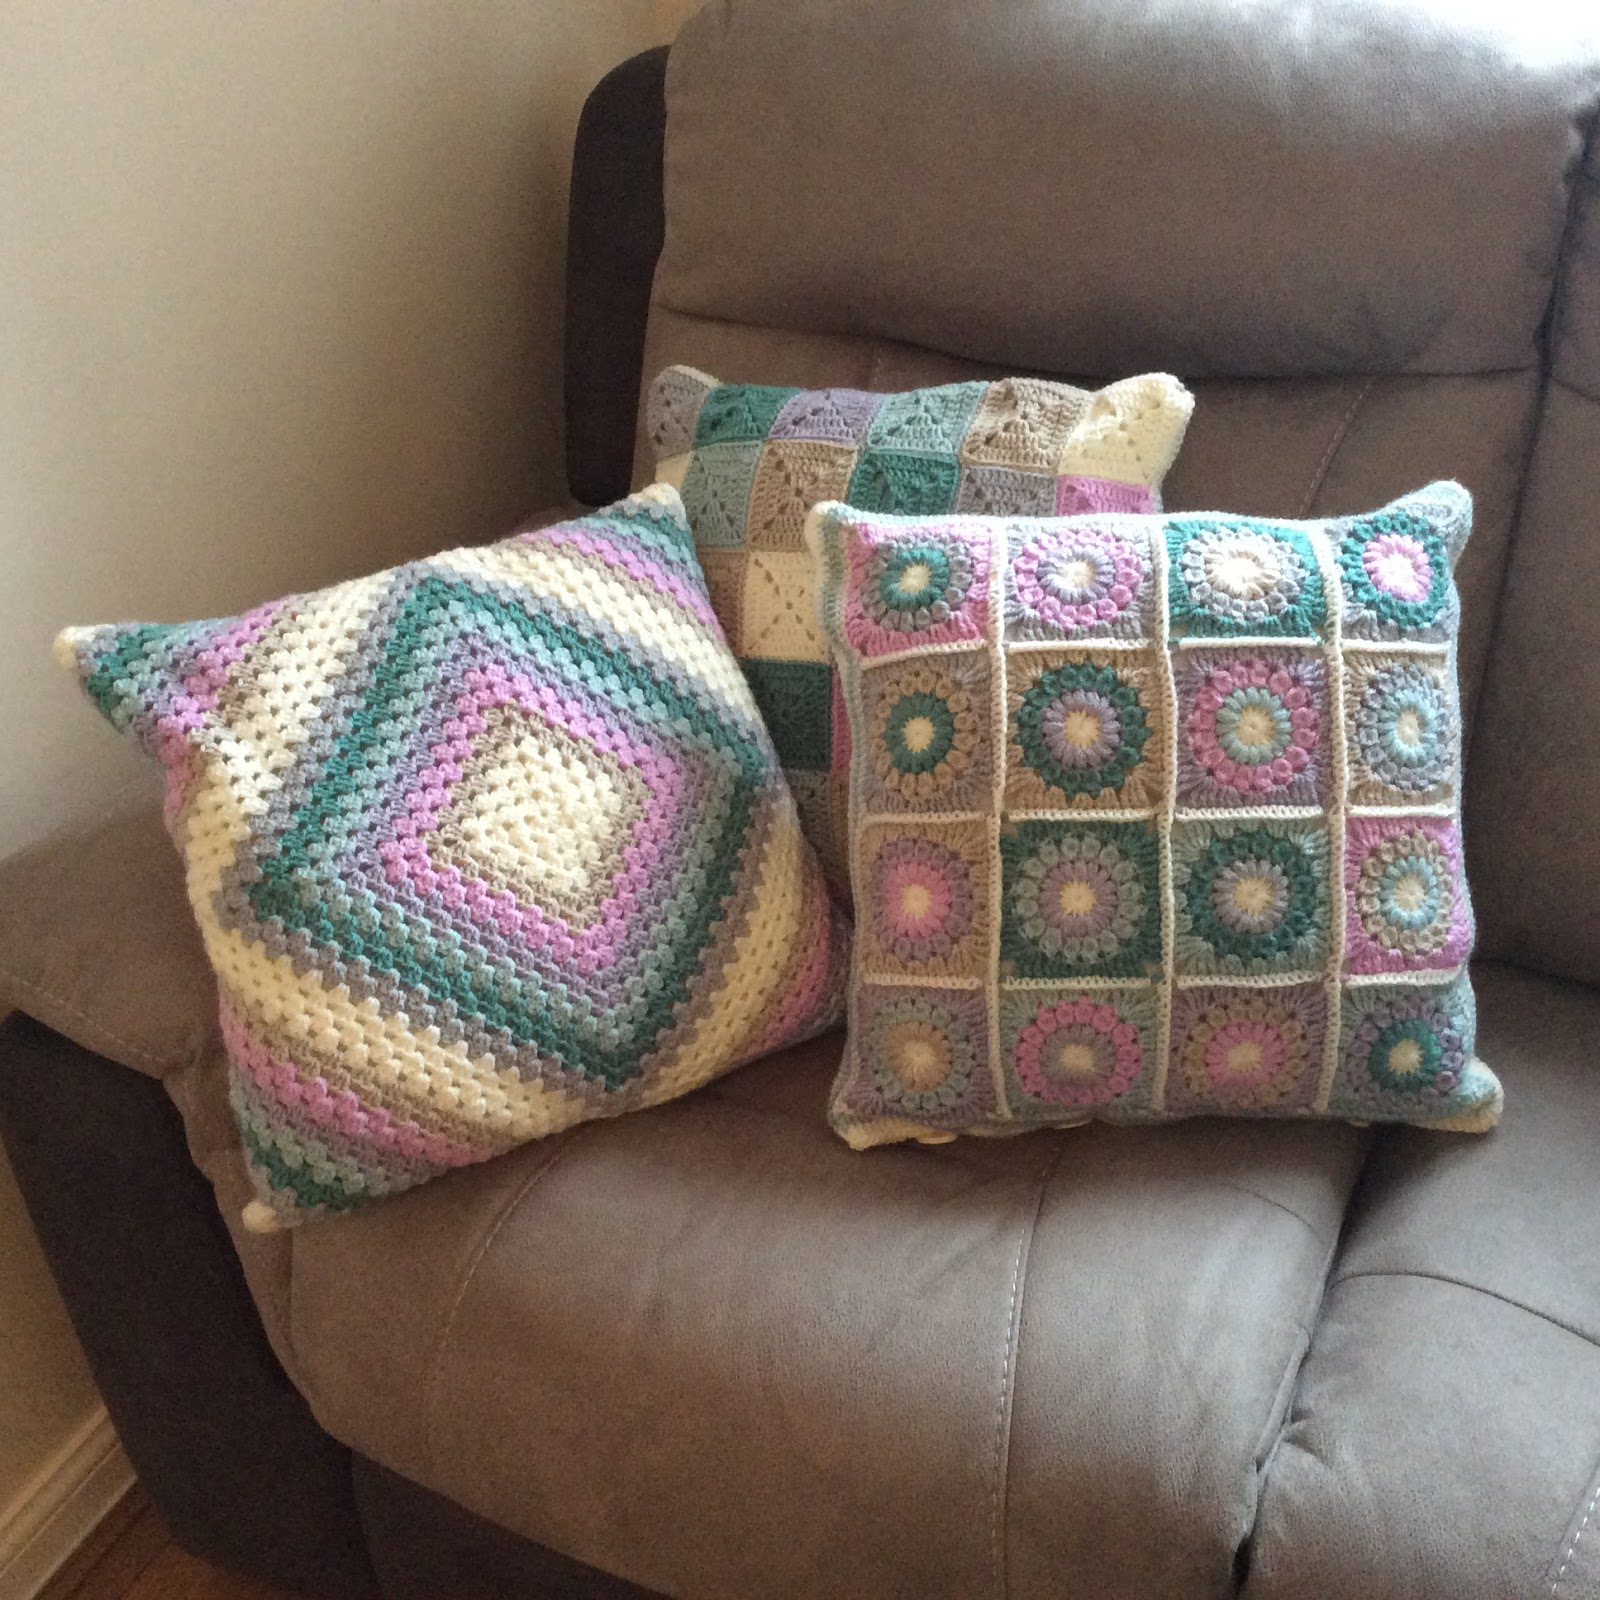
For number three I had to try a design I saw on pintrest. I made a large granny square which then wraps around the cushion on all four sides and is joined at the rear. It creates a lovely diamond effect on the front and a cross on the back


Here they are together looking pretty

For the final cushion I had decided on a nice diagonal stripe corner to corner design. I used all of the colours in a random order and completed two rows per stripe. This is a lovely pattern to work on, but it produces a lot of ends to sew in!

I was intending to do the same on the rear of this cushion, but realised I had a perfect opportunity to be a little more creative and try a technique I hadn't worked on before. The corner to corner method is often used to create graphgans like the giraffe blanket in my previous post. I counted up my surface area on the first side and it measures 30 'squares' by 30. I then drew a 30 x 30 square onto graph paper. I used pintrest again to find a nice pixel heart and sketched this onto the centre of my square. I added some coloured stripes to the bottom corner to tie it into my colour scheme.
I used this graph as my pattern and worked up my final cushion side

It was actually much easier to do than I had expected, so I will be making more of these in the near future (I've got loads of ideas pinned for this!)
Once the last side was done, I edged the squares and attached them together as before, added my buttons and it was done.


I'm so so pleased with how these have turned out. I have to admit that I watched a series of Call the Midwife on BBC iplayer while creating these and saw enough crochet cushions on there to make me worry that they would look very old fashioned. But I think the modern sofa (which is very comfortable and stylish I have to add) and the modern colour scheme do not look out of place in our home. I have received lots of compliments which makes me very proud.

Please visit me again soon
Berni xxx
They look fantastic x
ReplyDelete