Saturday, 28 May 2016

The Fluffy Meringue Blanket


Everyday my crochet bucket list grows bigger. I see so many wonderful and inspiring pictures while browsing the internet. There are just so many patterns to choose from, and they're everywhere I look on Facebook, Pintrest, Instagram, and Blogs. I actually keep a list of things I need to make, of patterns I want to try and this one rocketed straight to the top of the list.


I came across it on a Facebook page called Pink Lime Crafts. Sharon is a very talented crochet artist and she had made this blanket in a stunning rainbow colour scheme, You can see it on her blog here. I was blown away by how gorgeous this blanket looks and knew I had to try it. I'm still learning pattern reading and this one should have put me off from the start -


Luckily there is a YouTube video! This made life much easier, but it also taught me how to read the chart.


As much as I loved Sharon's colour scheme for this blanket I wanted to be original and decided a girly mix of peach, pink and lilac would look beautiful. I dug into my colour pegs and came up with Soft Peach, Apricot, Candyfloss, Pale Rose and Wisteria. The 'dusky' pastels really appealed to me and I couldn't wait to get started.


It worked up quite quickly in the beginning, each colour has four rounds of pattern which are repeated until the desired size is achieved.


The tutorial is really quite easy to follow provided you have a good grasp of the basic stitches. The difficulty as always is knowing where to put those stitches and a couple of the rounds are a little bit more tricky because of this. The 'back post treble crochet two together' became a dreaded but necessary stitch!


As it got bigger, each round inevitably took longer and longer to complete. The most labour intensive being the picot's or 'ruffles' that stand up from the rest of the blanket. When I got to that round I would have to make sure I was settled with a cuppa and something good on the tv. It was not a round to try and do while the children were demanding attention or in-between checking the dinner!


Finally after 12 'rounds' I decided it was a nice size for a baby blanket. I have to admit I did put this down a few times to work on other things, it was quite a labour of love, but I really wanted to see it finished and this kept me going.


To finish it off I added one of my labels, put it through the wash and tumble dried it on low. The picot ruffles refused to lay flat for me to photograph so I gave it a bit of steam treatment with the iron. This is called 'blocking' and the number one rule is to never let the iron touch the yarn. Instead you must hover above and let the steam do the work. This gave it a lovely final touch and allowed the pattern of stitches to shine.
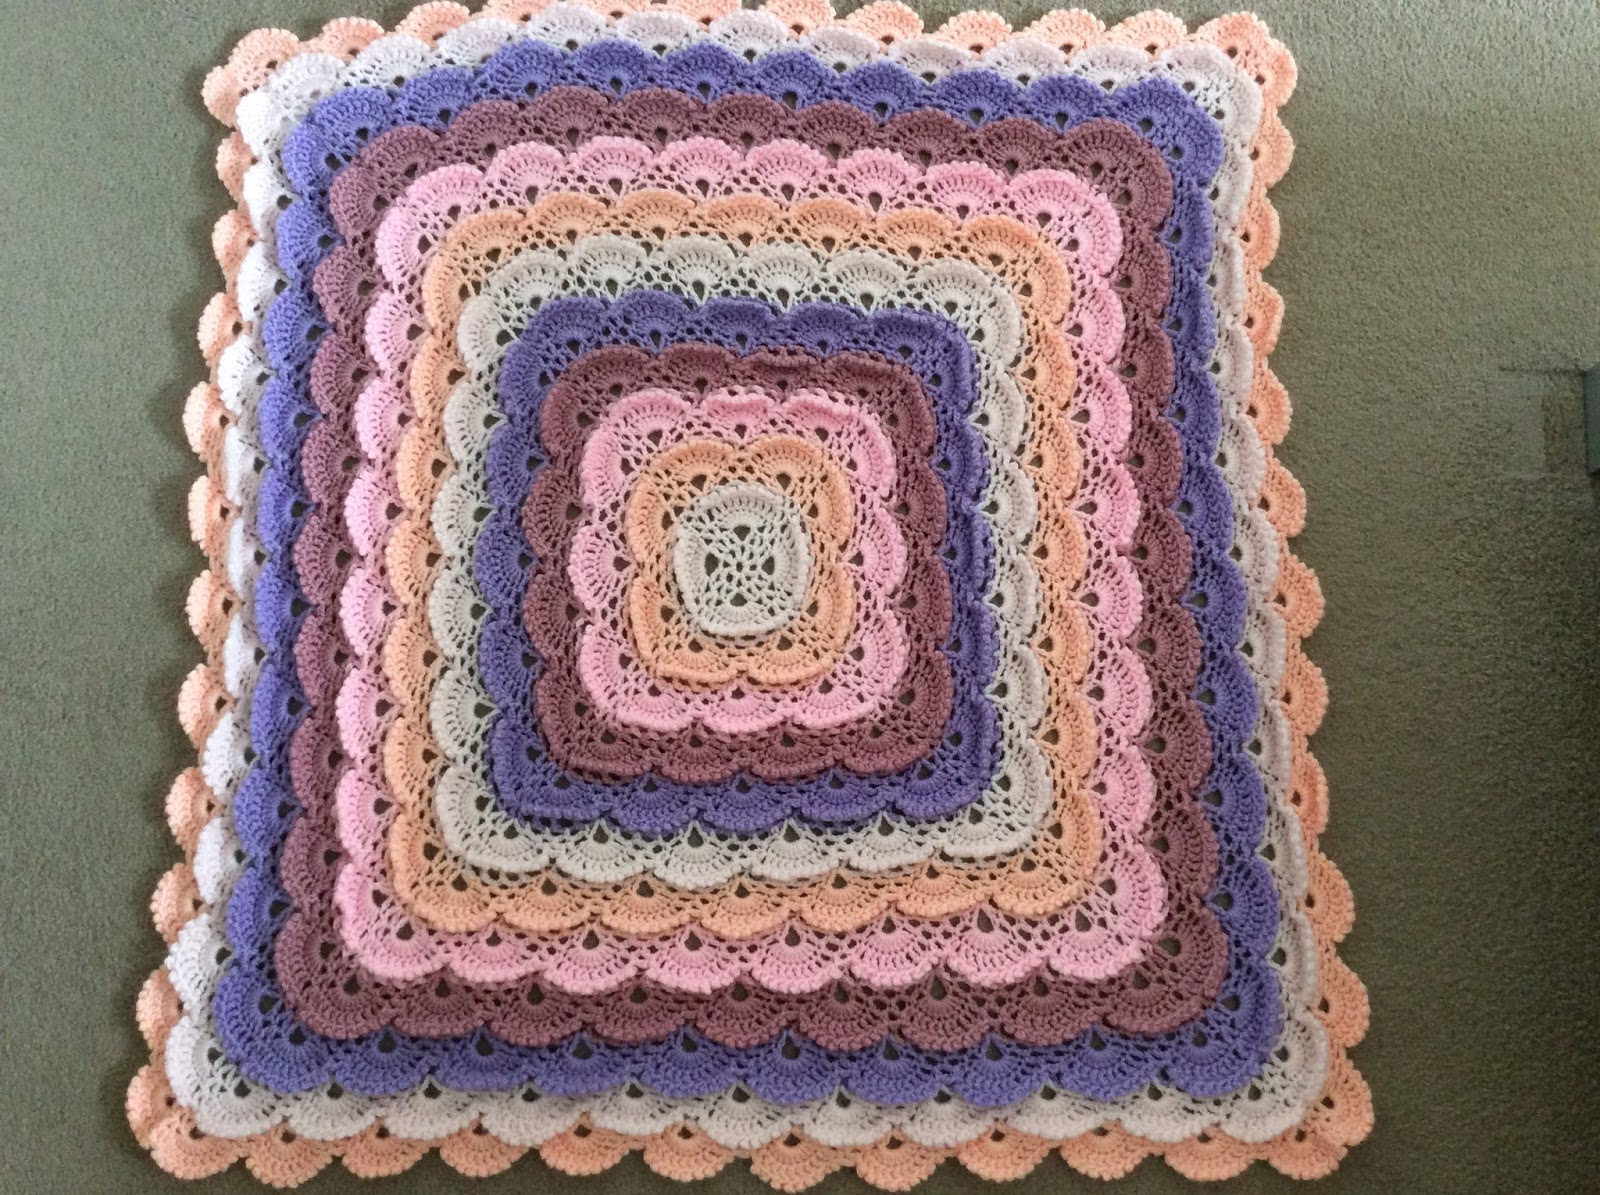

This is the first blanket I have made that doesn't actually have an owner. I decided a few months back that it was time to open a shop on Etsy. So this is my first item of stock. At the time of writing this it is for sale and available to purchase, but hopefully this wont be for long.


As well as making blankets to sell in my shop I am also taking orders, so if theres something you would like, please send me a message.

Thanks for reading, see you again soon.

Berni x


Monday, 2 May 2016

Cushion Covers


Back in January we decided it was time to replace our sofas. We browsed the various shops, which was hugely exciting for the three year old and eventually settled for a pair of three seater recliners in Grey and Silver. Whilst I was excited to be getting new sofa's, I was even more excited at the prospect of new cushions- cushions I could make myself!

My first thoughts and one of the most exciting aspects of designing something new was choosing the colour scheme. Our living room is mostly cream with a sage green feature wall. The sofa is shades of grey. I am a member of a crochet club on Facebook and one of the very talented ladies on there was working on a beautiful blanket for her bedroom. She had chosen shades of cream, silver, lilac, duck egg and pink and they worked so well together. So I took the same colours and added a sage green to compliment and include the feature wall. As always I use Stylecraft special DK.


The next task was to chose the patterns. I decided I wanted four different designs rather than repeating the same design four times. This meant I could be far more creative and gave me more opportunity to play with design and colour!

For cushion number one I used the sunburst granny design on one side and a solid granny square the other


I used cream in the centre of each sunburst and planned the colours so there were no repeats. Once I had made sixteen squares I stitched them together.


For the back I alternated rows of cream with rows of colour until the square was big enough


To make the cushion cover, I crocheted three of the sides together from the reverse and attached buttons to the open end for a closure that will allow me to remove and wash the covers when needed. I got the buttons from amazon- they say 'handmade' on them which I thought was very cute!


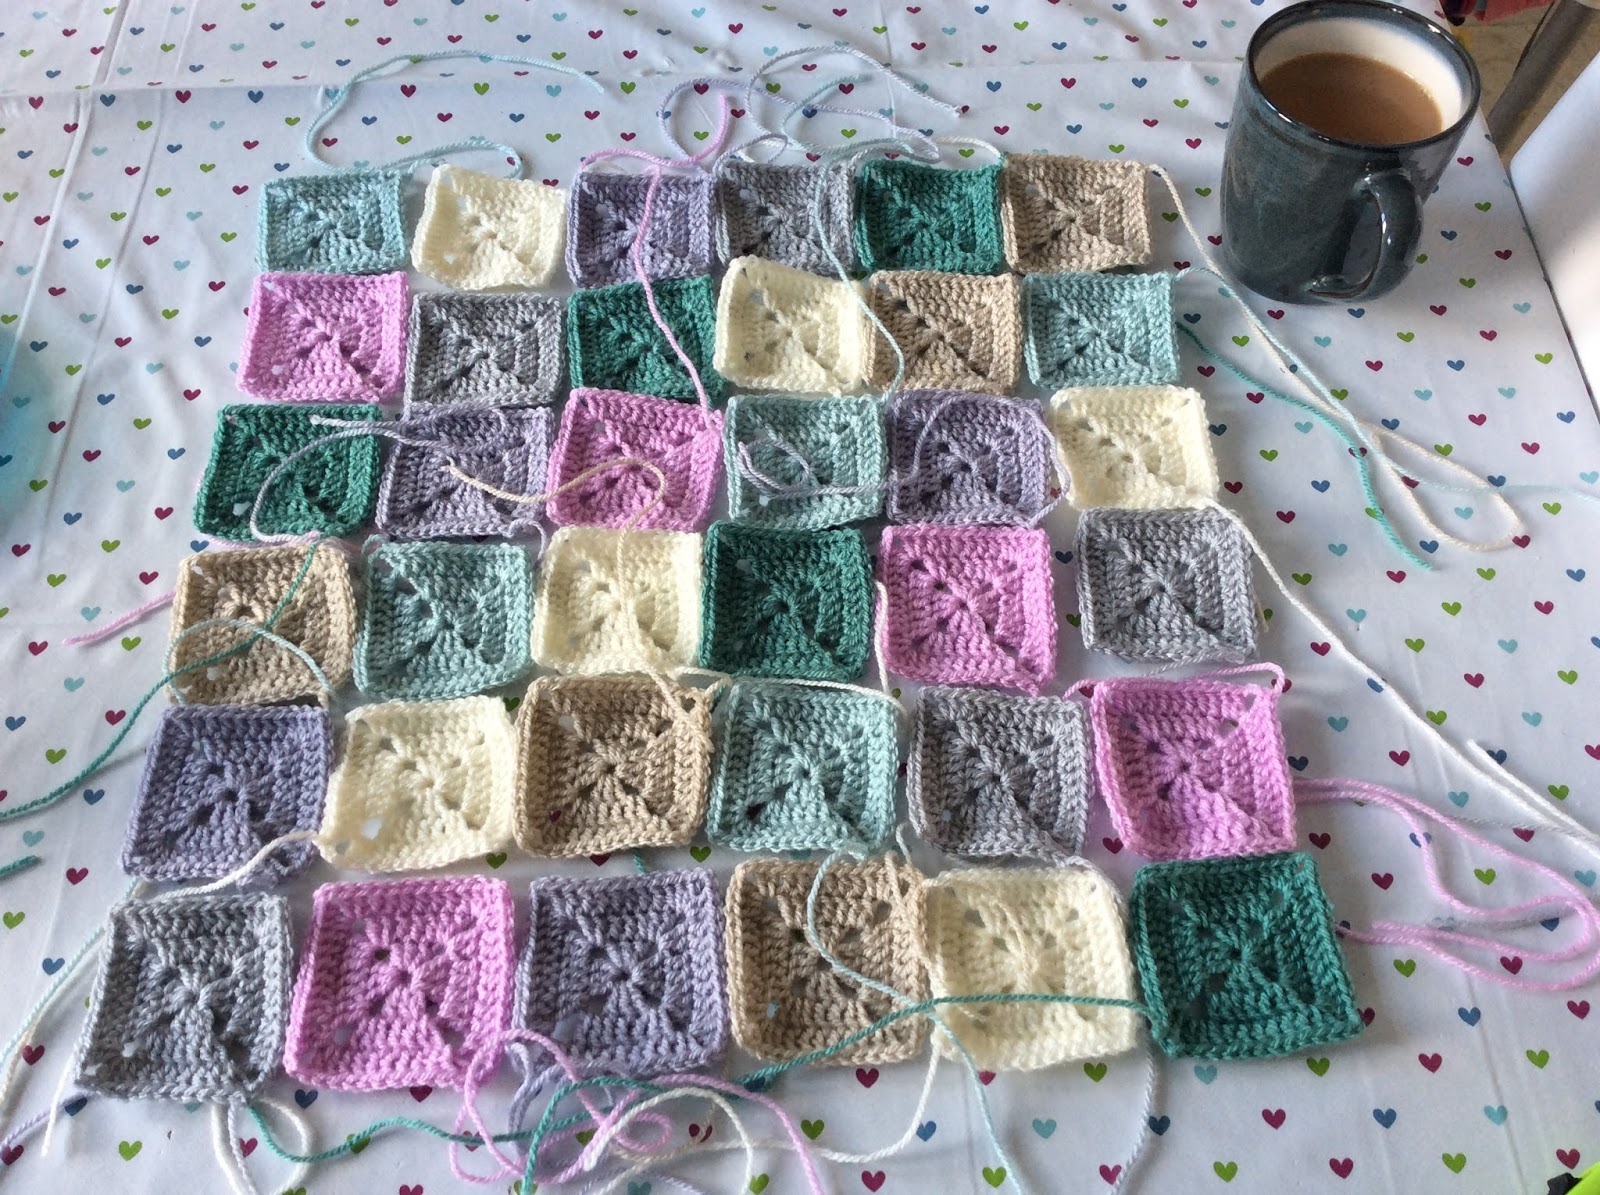
For cushion number two I went for solid granny squares whip stitched together to create a patchwork effect on both sides. These little squares work up very quickly and are very simple to join together.


As before, once the two sides were complete, I crocheted them together on three sides from the reverse and added a button enclosure.


and then there were two!


For number three I had to try a design I saw on pintrest. I made a large granny square which then wraps around the cushion on all four sides and is joined at the rear. It creates a lovely diamond effect on the front and a cross on the back


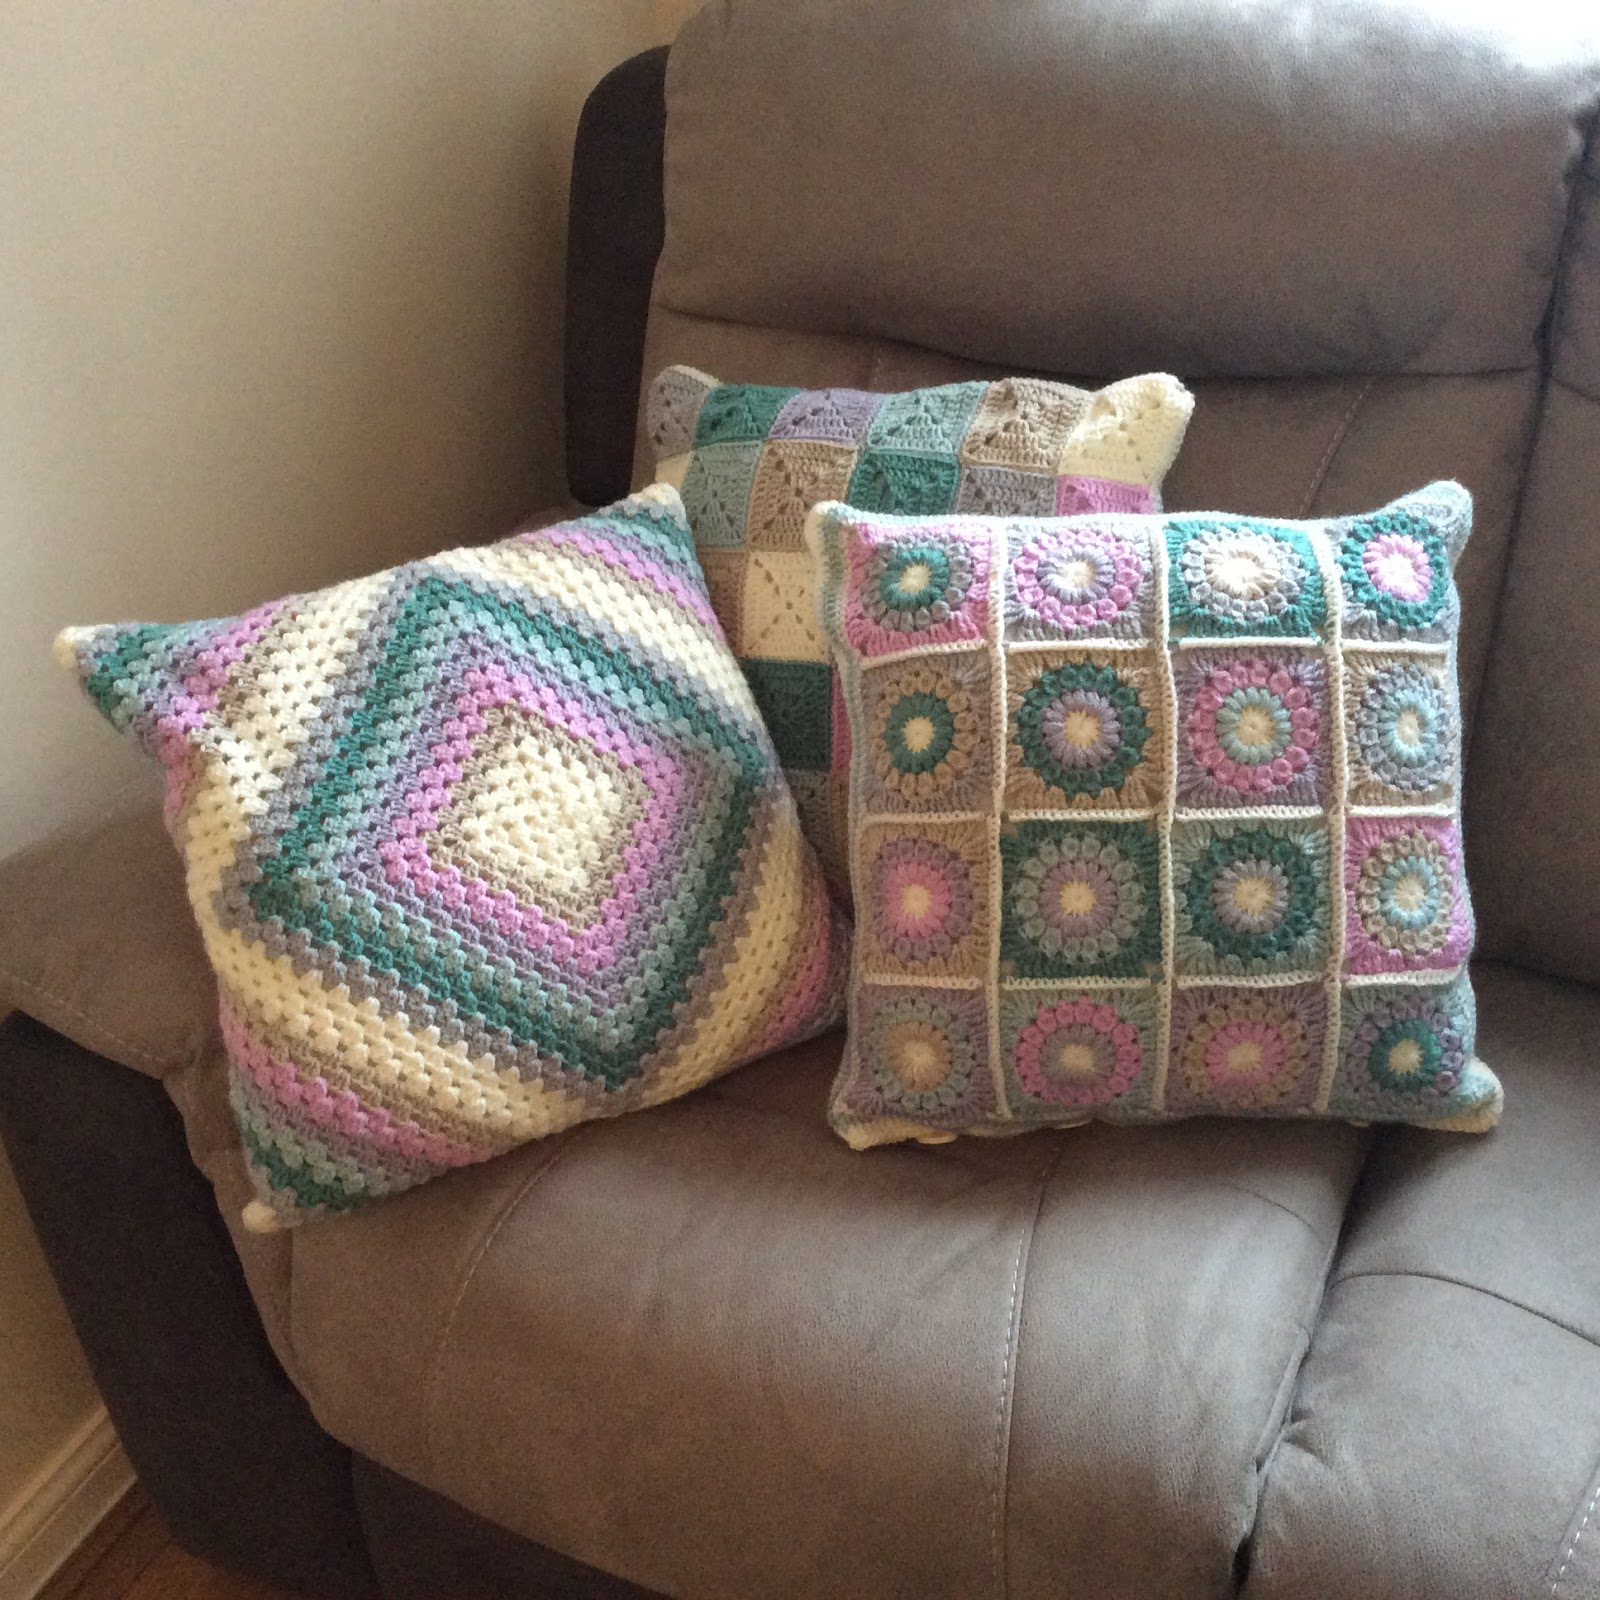
Here they are together looking pretty


For the final cushion I had decided on a nice diagonal stripe corner to corner design. I used all of the colours in a random order and completed two rows per stripe. This is a lovely pattern to work on, but it produces a lot of ends to sew in!


I was intending to do the same on the rear of this cushion, but realised I had a perfect opportunity to be a little more creative and try a technique I hadn't worked on before. The corner to corner method is often used to create graphgans like the giraffe blanket in my previous post. I counted up my surface area on the first side and it measures 30 'squares' by 30. I then drew a 30 x 30 square onto graph paper. I used pintrest again to find a nice pixel heart and sketched this onto the centre of my square. I added some coloured stripes to the bottom corner to tie it into my colour scheme.

I used this graph as my pattern and worked up my final cushion side


It was actually much easier to do than I had expected, so I will be making more of these in the near future (I've got loads of ideas pinned for this!)

Once the last side was done, I edged the squares and attached them together as before, added my buttons and it was done.


I'm so so pleased with how these have turned out. I have to admit that I watched a series of Call the Midwife on BBC iplayer while creating these and saw enough crochet cushions on there to make me worry that they would look very old fashioned. But I think the modern sofa (which is very comfortable and stylish I have to add) and the modern colour scheme do not look out of place in our home. I have received lots of compliments which makes me very proud.


Please visit me again soon

Berni xxx


Sunday, 17 April 2016

The Giraffe Blanket and Comforter


I came across a style of blanket I'd never heard of before while browsing various pages on Facebook and Pintrest- and I knew straight away that I had to try it. It's called a Graphgan- an Afghan made from a graph to produce a pattern or picture.
With further research I discovered that people were producing the graphs from Pearler bead patterns found on Pintrest. From what I understand, Pearler beads are a creative kit for kids to make pictures with and I believe they heat them up with an iron to fix the beads in place (correct me please if I'm wrong!)

While browsing through these patterns - I love Pintrest and could browse for hours!- I came across a lovely simple design for a baby giraffe and I knew it would be perfect for my first graphgan project.
The only problem was who to make it for? This was quickly solved when my good friend and childminder announced that she was pregnant.

There are several ways to make a graphgan, the corner to corner method is very popular, but due to the simplicity of this design I decided to make solid granny squares and stitch them together. I traced out my graph onto squared paper and worked out just how many squares would be required in each colour. Now this is just a basic design of 13 x 16, but that still totals 208 - not a number to be sniffed at.

To keep me from getting too bored I decided make a row at a time and stitch them together. The stitching was quite fiddly until I got the hang of it- I've mentioned before that I'm not as good with a needle as I am with a hook.


To keep me sane I did work on other projects between making these little squares, but the blanket steadily grew.


Then before I knew it, it was finished! Next comes the border- I found this lovely design in a book by Jan Eaton that I borrowed from the library- its called shell and lattice edging. Before the blanket part was finished my friend had announced that she is having a little girl, so I knew straight away the border would be pink.


Now, as with the corner to corner blanket I recently made, I felt it needed a little something extra to make it a complete gift. I didn't fancy a hat this time (and baby is due in June) so I decided to try a comforter instead. I found the pattern for this one on ravelry and managed to make all its limbs in just one evening.


I sewed it together and voila! all done :)


Earlier today I attended my friend's baby shower and presented her with my gift for her daughter to be. She was very pleased with it and my warm and fuzzy feeling is here again.

Berni x

Sunday, 27 March 2016

The Easter Bonnet


At the beginning of term my son came home from Preschool with a newsletter detailing all the activities for the next couple of months. I diligently wrote all the events down on our calendar and subsequently forgot all about them. Luckily a week before the event the preschool sent home a reminder that they were having an Easter parade and activities day on the Monday before the end of term- and that each child would require a handmade Easter Bonnet.

During some moment of madness and over-ambitious appraisal of my own skills I decided to put myself forward for the title of "Crafty mum that took it too far" and crochet the items for his Easter Bonnet. With one week to go.

I started with the eggs. This was my first go at 'amigurumi' The Japanese art of creating stuffed toys or objects with crochet or knitting. I followed some tutorials on YouTube and within an evening I had created 4 small eggs. There's something very satisfying about getting it right first time and my confidence lead me to start searching for more Easter related patterns.


Next came the bunnies- these are so cute and still quite simple to make. After the first one was born from my hook it was immediately claimed by my son who has a penchant for the furry lop-eared creatures. It wasn't easy to remove it from him to attach it to the hat! The finishing touch on the bunnies was the little pom pom tail!


After this I just went a little mad, I made chicks, daffodils, more eggs, flowers and a chick applique. I was constantly wondering if I had enough, then just making a couple more to be sure. I even managed a couple of baskets to hold a Cadbury's Crème Egg each!


The hat was actually purchased from Home Bargains for the grand sum of 99p, I'd decided from quite early on that I wasn't going to crochet the hat too- far too much work on top of what I was already doing and I was working to a deadline.

The most fiddly and difficult part of the whole project was sewing everything on. I've said before that sewing isn't my thing, and I spent my whole Sunday evening before the parade cursing and swearing and sucking on my poor injured fingers every time I stabbed myself with the sodding needle. I had to leave the egg baskets off in the end as they were just too heavy, the rim of the hat kept collapsing under their weight.


The next morning I anticipated my sons reaction to the hat like a child waiting for Christmas morning. I imagined him squealing with excitement that he would get to be the one in the best hat, parading it around for everyone to see. Unfortunately I am not the mother of such a child and "I not want hat- Get it off" was not the reaction I had hoped for.
Luckily once the other children started the parade with their own hats, he decided he would quite like to join in.


Maybe when he's older (and has worn the hat to every parade for the next five years) he will appreciate just how much work went into it. Maybe :)

Berni xxx